BIOS Configuration
Introduction
Section titled “Introduction”This chapter configures the Gigabyte B850 AORUS Elite WiFi7 BIOS after the first successful default boot.
Purpose
Section titled “Purpose”Apply only the settings needed for a clean Windows 11 Pro installation, stable cooling, correct boot order, and later EXPO enablement.
Estimated Time
Section titled “Estimated Time”20-40 minutes.
Difficulty
Section titled “Difficulty”Moderate.
Required Tools
Section titled “Required Tools”- Keyboard.
- Windows 11 Pro USB installer.
- Motherboard manual.
- Internet-connected device for downloading BIOS files only if a BIOS update is required.
Warnings
Section titled “Warnings”- Do not update BIOS during an unstable power situation.
- Do not interrupt a BIOS update.
- Do not change voltage, clock, or advanced memory timings manually during the first setup.
- Do not enable EXPO until default boot and hardware detection are confirmed.
- Record any setting changed from default.
Step-by-Step Instructions
Section titled “Step-by-Step Instructions”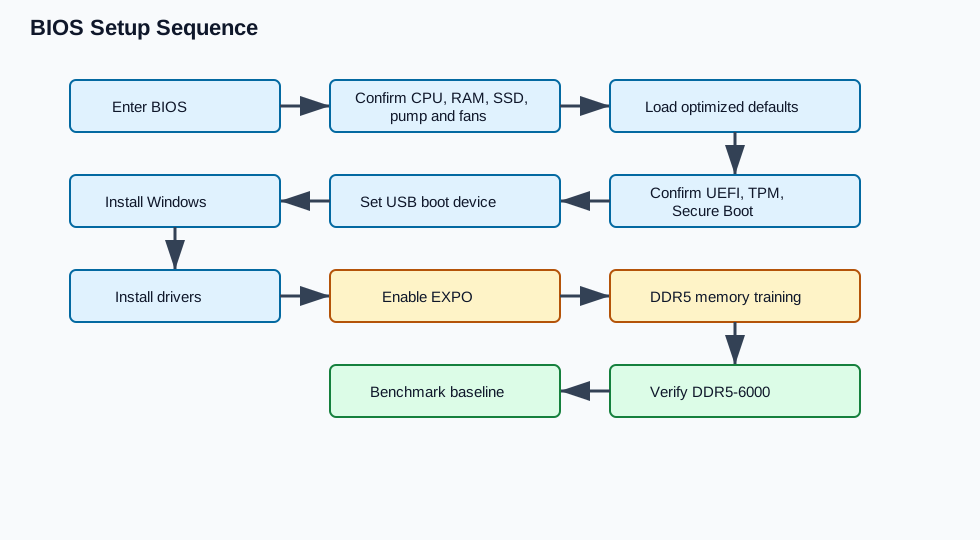
- Enter BIOS after first boot.
- Load optimized defaults if the board has been used before.
- Confirm system date and time.
- Confirm CPU, memory capacity, SSD, and fan/pump readings.
- Confirm UEFI boot mode is enabled.
- Confirm TPM/fTPM and Secure Boot support are available for Windows 11.
- Set the Windows 11 Pro USB installer as the temporary first boot device when ready to install.
- Review fan monitoring and confirm the CPU cooler pump/fan header reports activity.
- Leave EXPO disabled until the dedicated EXPO chapter.
- Save changes and reboot.
BIOS Update Guidance
Section titled “BIOS Update Guidance”Use the installed BIOS if hardware is detected correctly and there is no release note requiring an update for this build. Update only when the new BIOS fixes a relevant compatibility, stability, security, or CPU support issue.
If updating:
- Download the BIOS only from the Gigabyte support page for the exact motherboard model and revision.
- Extract the BIOS file to a FAT32 USB drive.
- Use the motherboard BIOS update utility or Q-Flash Plus procedure from the manual.
- Keep the system powered and do not interrupt the update.
- Load optimized defaults after the update and re-check hardware detection.
Verification Checklist
Section titled “Verification Checklist”- BIOS opens reliably.
- CPU model is correct.
- 32GB memory is detected.
- SSD is detected.
- Pump/fan monitoring reports activity.
- UEFI boot mode is active.
- Windows 11 USB installer is available as a boot option.
- No unnecessary overclocking settings are changed.
Common Mistakes
Section titled “Common Mistakes”- Updating BIOS from the wrong motherboard revision page.
- Enabling EXPO before confirming default stability.
- Changing many settings at once.
- Ignoring fan or pump monitoring.
- Interrupting BIOS update progress.
Expected Result
Section titled “Expected Result”BIOS is configured for a clean Windows 11 Pro installation while preserving stable default hardware settings.
Next Chapter
Section titled “Next Chapter”Continue to Windows Installation.